Manage Labels
- 20 Dec 2022
- 1 Minute to read
- Print
- DarkLight
- PDF
Manage Labels
- Updated on 20 Dec 2022
- 1 Minute to read
- Print
- DarkLight
- PDF
Article Summary
Share feedback
Thanks for sharing your feedback!
Label Images
Note:
For more information on the labeling tools for each Project Type, go here.
At least 10 images must be labeled before you can deploy your model.
To label images:
- Open the Project you want to edit.
- In the Data Browser, click the image you want to label.
- Click the Label tab.
- Select the Class from the drop-down menu.Hint:You can also press D on the keyboard to open the drop-down menu. Then press the up and down arrow keys on your keyboard to select the Class, and press Enter to confirm your selection.
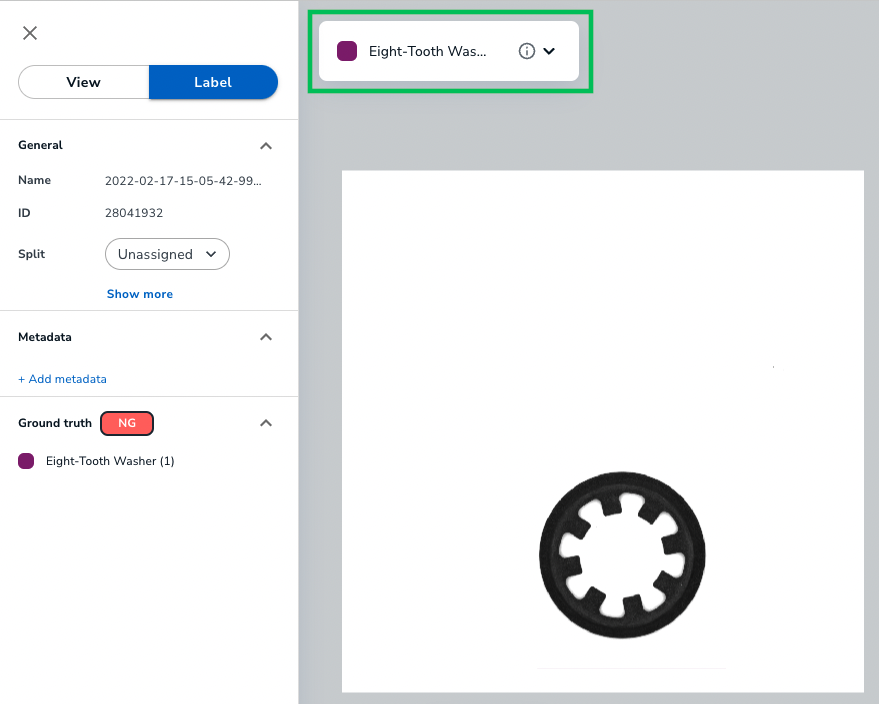 Select a Class
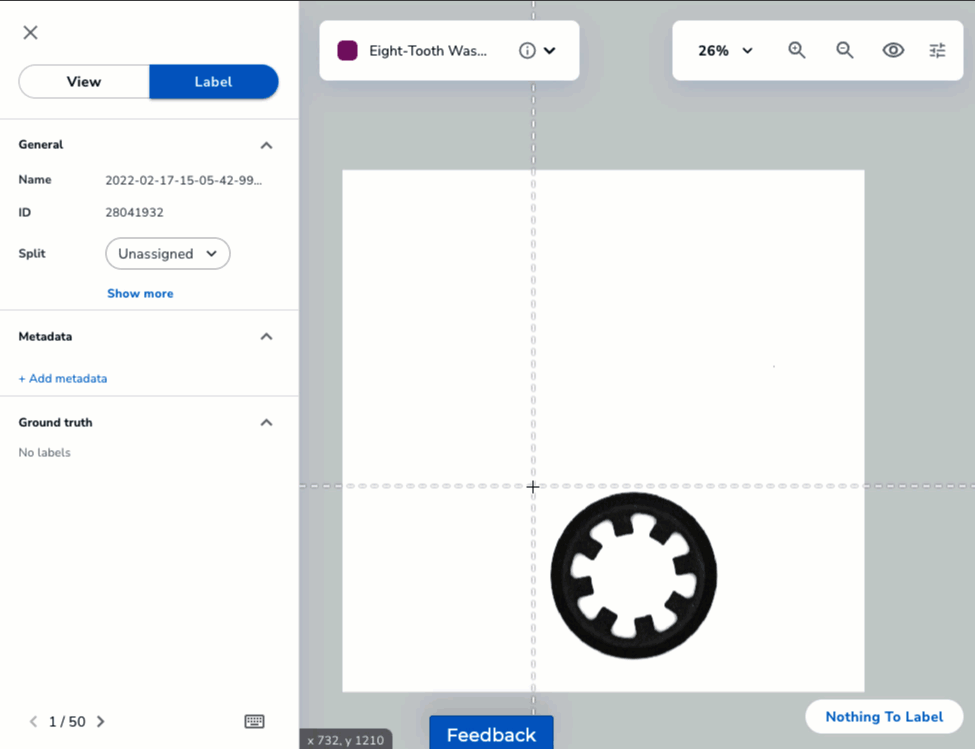
 - Use the labeling tool to identify the image. If the image does not have any items to label, then click Nothing to Label.
.png) Nothing to Label
Nothing to Label - To go to the next image, press the left or right arrow keys on your keyboard accordingly.
 Label Images

.png)

Remove Labels from Images
Let's say you labeled an image by mistake. You can remove that label. To do this:
- Open the Project you want to edit.
- In the Data Browser, click the image you want to label.
- Click the Label tab.
- Perform one of the following options:
- Click the label and press Delete on your keyboard. This will delete that label.
 Delete One Label
 - Click Clear All Labels. This will delete all labels in the image.
.png) Clear All Labels
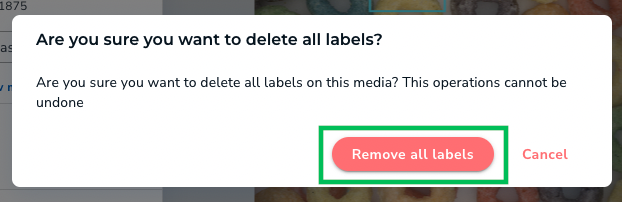
Clear All Labels - A pop-up window displays. Click Remove All Labels to confirm your action.
 Remove All Labels
- A pop-up window displays. Click Remove All Labels to confirm your action.
- Click the label and press Delete on your keyboard. This will delete that label.


Was this article helpful?